CAMPING
Perfect Pitch: How to Pitch a Tent Like a Pro
Whether you’re camping in the backcountry or at an established campground, setting up a tent takes practice. Here’s what you need to know.
BY: NANCY BOUCHARD
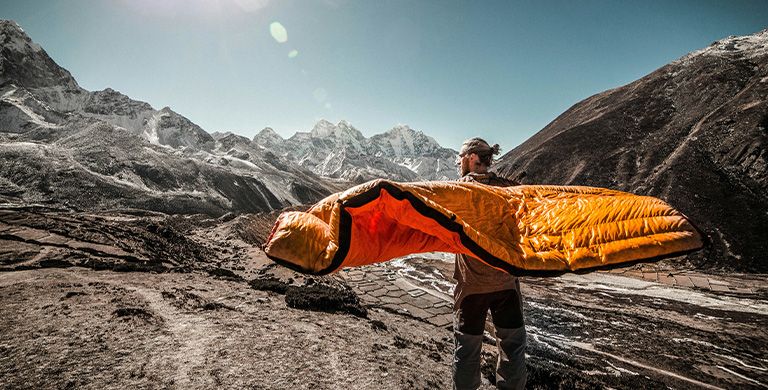
Your tent is your campground castle, your backcountry crash pad, your last line of defense from Mother Nature’s temper tantrums. Sure, you can cowboy-camp under the stars, but a tent can be critical for staying warm, dry and sane. A tent protects you from the elements, keeps bugs at bay, and gives you a place to stash your stuff while you’re hiking, fishing or simply soaking in a hot springs. Scrimp on the details, though, and you’ll be fixing things in the dark, in the rain.
The good news? Today’s tents—from classic A-frames to sleek dome tents, roomy tunnel tents (aka hoop tents), and minimalist pyramid designs—are way lighter and easier to pitch than ever. Most modern designs come with lightweight, mammoth-strong poles—usually aluminum or carbon fiber—roomier living spaces, and mesh panels that boost airflow. Single-wall tents are built for cold, dry environments like snow camping or alpine climbing. They're lightweight but can get stuffy—less ventilation means more condensation. Double-wall tents, designed for three- to four-season use, feature a separate rainfly, hence the "double-wall" name. Most have a tent body with ample mesh for airflow and stargazing, paired with a durable, waterproof rainfly for added protection and warmth. Tents typically have one or two zippered doors: single-door models save weight but may require climbing over tentmates to get in or out, while two-door setups improve ventilation and make shared use more comfortable.
But no matter how “idiot-proof” your tent claims to be, it won’t save you if you forget the stakes or a pole, ignore the rainfly, or pitch it on a slope that “looked pretty flat” by headlamp. Whether you're battling weather in the Rockies, mud wrestling at a music fest, or just trying to keep up appearances in front of your kids, here's your expert guide to setting up your tent like a boss—and waking up with a smile.

Practice Makes Perfect
Regardless if you’re heading out on the Pacific Crest Trail or car camping close to the road in a national park, practice setting up your tent at home. Whether you’re wrangling a quick-pitch model or a labyrinthine tunnel tent, getting familiar with your gear ahead of time can save you epic embarrassment and frustration later. Make sure you can set it up solo, because conditions like rain, wind, and snow won't wait for your learning curve.Tools Needed for Setting Up a Tent
- Tent stakes. Use those that came with your tent or choose ones designed for specific terrain, from big plastic ones for soft soil and sand to ultralight aluminum pins and snow stakes.
- Tent guylines. These are strong cords that are adjustable in length, extending from the tent to the stakes. Keep them taut to prevent flapping and leakage.
- Optional: a mallet for hammering in stakes—most of the time a rock will do.
- Optional: a ground cloth or tent footprint. They provide added protection between the tent and the ground, but most tents have extremely durable, waterproof floors.
- Rainfly for double-wall tents.
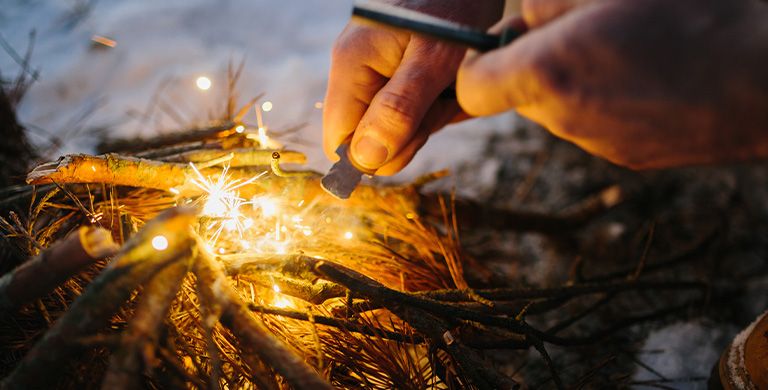
- Repair kit: patches for punctures or rips in fabric and mesh, a pole sleeve, and duct tape. Pro tip: wrap the duct tape around the pole sleeve.

Step-by-Step Guide to Setting Up Your Tent
Selecting a Campsite
Choosing the perfect campsite is half the battle—and good fun. Whether you're camping in a designated campground or going full feral with dispersed wilderness camping, look for a spot that’s slightly elevated—to avoid pooling rain—protected from strong wind, and out of range of dead or dangling tree limbs. Skip the hilltops and ridgelines—they’re lightning magnets. And steer clear of dry creek beds, too: you don’t need rain overhead to get caught in a flash flood.
- Look for natural windbreaks like shrubs, boulders, or trees. Inspect the trees to make sure they aren’t leaning or dead.
- Think strategically about sun and shade—especially if you're camping somewhere hot.
- Position your tent door away from prevailing winds. If you're camped in a wind tunnel, the narrowest part of the tent should face the gusts.
- Avoid setting up your tent near berry patches—those attract bears—and poisonous plants like poison oak, ivy and sumac.
Pitch It Right
Clear away sticks, sharp rocks, and pinecones—anything your sleeping pad can’t overcome. Lie down first to test the slope: you want your head slightly uphill.
Follow the tent instructions carefully, but the basics for most models are:
- Lay out the tent footprint or tarp if you have one.
- Spread out the tent body and stake down the corners. Stakes should be pounded into the ground at 45-degree angles—leaning away from the tent. In rocky or hard ground, tie guylines around rocks, logs or trees.
- Assemble the poles. Lay them out longest to shortest.
- Clip or sleeve the poles, then insert the poles into the corresponding D-rings. This is where the magic takes place.
- Attach the rainfly and stake it out so everything is taut.
- Tighten all guylines and stakes to stabilize.

Pro Tips
- If you're leaving your tent site for day hiking, peak bagging, or fishing, make a note of where your tent is located. Find a few geologic features for reference. This is especially important deep in the backcountry—your campsite is obvious when you’re standing next to it, but not so obvious when you’re a couple miles away on a ridgeline. Bright-colored tents are great for visibility—and easier to spot from a distance. Nice if you ever require a rescue.
- Always keep the zippers zipped to keep bugs, snakes, and other creepy crawlies out of the tent. Mesh netting thwarts mosquitos, black flies, and no-see-ums, but an open zipper is an invitation to a feeding frenzy.
- Make your tent a shoe-free zone. Shoes—and backpacks—can be stashed in the vestibule: the area outside the tent that’s covered by the fly. Or bring a 50-liter garbage bag as an outdoor storage area. It’ll keep extra gear dry, and you can use it to pack out trash.
- Quick-pitch—or pop up--tents are nice for fast setups at a music festival, beach days or in a sudden downpour, but they need proper staking to survive a windstorm. A big gust will send them spinning across the field or shore like a tumbleweed.
- Don’t go camping if thunderstorms are predicted. If a storm hits, camp in your car if possible. If you're in the backcountry, get off ridges and hills, and avoid tall trees and open meadows.
- Never cook with a stove inside your tent—carbon monoxide poisoning is a real danger. Set up your kitchen and, if allowed, your campfire, well away from your tent. The Bureau of Land Management recommends keeping at least 200 feet of distance for safety.
- Use that same 200-foot rule when pitching your tent near water sources. It helps to protect you from high tides and flash floods and allows wildlife to access water without disturbance.
- If you’re camping with your dog, pack a camp towel for wiping off muddy paws.

Taking Down Your Tent
- Shake off dirt, sticks, and debris before packing up. Dry the tent fully—inside and out—to prevent mildew.
- If you're hiking to a new campsite and don’t have time to dry your tent, just make sure to erect it as soon as you reach the next camp.
- Leave your campsite cleaner than you found it. Pick up any litter—bottle caps, butts, granola bar wrappers included. Return logs, rocks and anything from nature you’ve used back into its original position. Fill any holes you –or your dog-might have dug. Take a tree branch and brush away the imprint of the tent, and footprints. The joy of tenting is being a part of nature. Work to save that natural experience for the next camper. Follow Leave No Trace best practices.
Cleaning and Maintaining Your Tent
- You can spot clean areas that got muddy, but don’t sweat the small stuff. You can pitch the tent in your yard on a deck and hose it down. Once every year or two, consider washing your tent. Use a hose and a bucket of warm water with a mild soap solution. Then rinse thoroughly.
- Clean zippers with an old toothbrush—this works for grimy mesh areas too.
- Always store your tent completely dry to avoid mildew. Loosely roll or stuff it into its sack.
From car camping to backcountry summit pushes, Columbia’s got you covered—dry, warm, and looking badass. Count on trail-tough gear, weather-ready apparel, and rugged backpacks and accessories that stand up to whatever Mother Nature throws your way.